
Maximize Your Garage Space: My Fleximounts GL1 Heavy Duty Lift Installation
- Ken Periman
- Dec 17, 2025
- 2 min read

Hey everyone, Ken Periman here!
If you’ve been following my journey on the channel, you know I do a lot of product reviews. Between the gear, the samples, and the everyday garage "stuff," space is always at a premium. I’ve been looking for a solution that doesn't just store things but makes them accessible without a ladder. That’s why I finally sat down to install the Fleximounts GL1 Garage Lift.
In my latest video, I walk you through the entire process—from the template struggles to the satisfying moment of cranking the shelf up to the ceiling.

The Prep: Templates and Studs
Every good install starts with a plan. The GL1 comes with a paper template to help you mark your holes on the ceiling. One quick tip from my experience: be careful with the tape! I found that even painters' tape was tugging at my ceiling paint.
Once the template is up, the most critical step is using a reliable stud finder. You’re going to be putting a lot of weight on this lift, so those lag screws must be centered in the joists.
The Heavy Lifting (Literally)
For the actual hardware, I used a 3/16" drill bit for my pilot holes. This gives the lag screws enough of a guide to go in straight while leaving plenty of wood for the threads to "bite" into. To drive those heavy-duty screws home, you’ll want a 13mm

After getting the four main brackets secured, it was time for what I call the "technical terms": the doohickeys, the thingamajobbers, and the spinny spin spins. As an engineer, I like to keep the terminology professional, of course! LOL
Why I Love This System
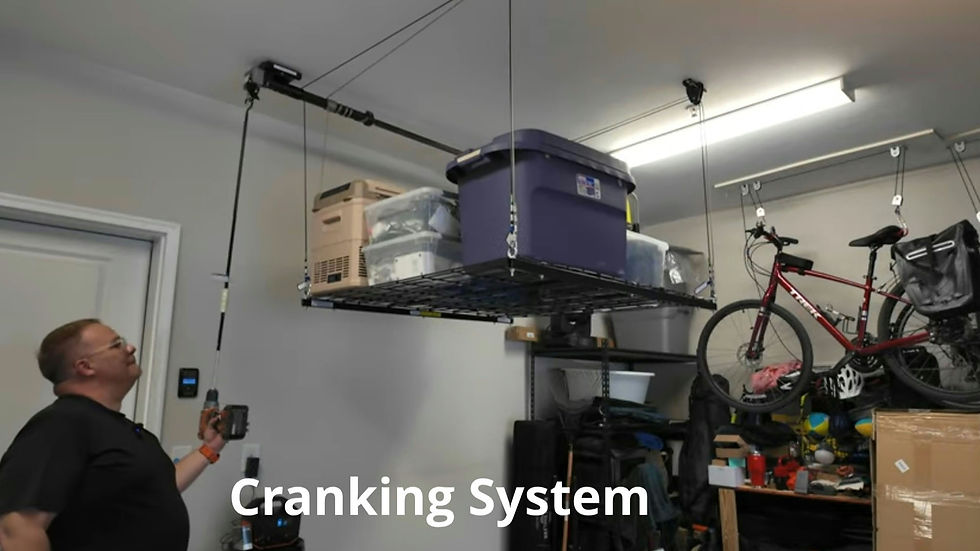
The real magic of the Fleximounts GL1 is the crank mechanism. Once the shelf is assembled and the cables are routed, you can simply "unlock the spinny spin spin" and lower the shelf down to a comfortable height to load your totes.
No more precarious balancing acts on a step stool. I was able to get my storage bins loaded at waist height and then crank the whole thing back up, clearing up massive amounts of floor space.
Final Thoughts
If you’re concerned about the crank handle hanging down and "bopping you in the head," Fleximounts thought of that. You can easily remove the hand crank and set it aside when you aren't using it.
This project has been a game-changer for my garage organization. If you want to see the full step-by-step and watch me wrestle with some ceiling tape, check out the full video below!
[WATCH THE VIDEO HERE:
Thanks for stopping by the site. Let me know if you have any questions about the installation or the GL1 system!


Comments